Tips and Advice
Our complete Self-Adhesive Vinyl guide
Wondering how to get the most out of Self-Adhesive Vinyl? You’ve come to the right place.
Being the helpful bunch we are, we’ve put together some top tips and tricks on the ways you can use Self-Adhesive Vinyl in your life. So whether you’re marketing your business or designing a new window display, we’ve got a great how-to for you.
Vinyl for decoration
Completely customisable and able to be applied to walls, desks, furniture and glass, you can create something truly head-turning!
Want to add a fun wall-to-ceiling mural to a classroom? How about displaying your Menu to customers as they enter your cafe? Or zhushing up your office with vibrant designs that you can take down at any time? With Vinyl, you can customise your space any way you choose.
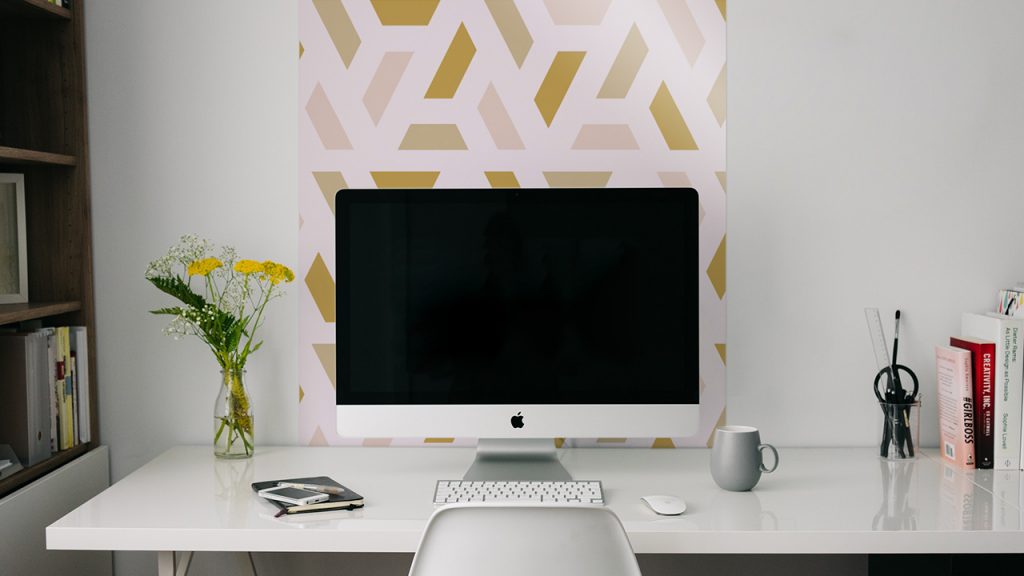
Vinyl for branding
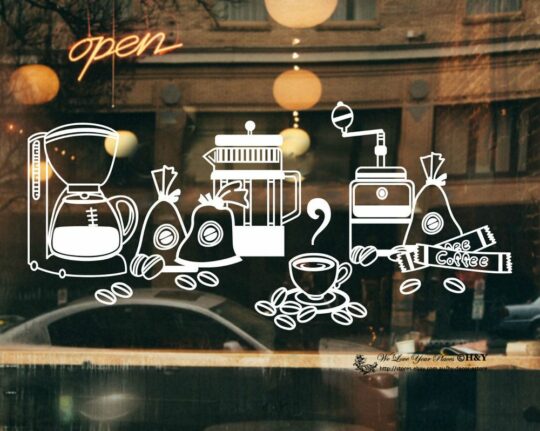
Image via Pinterest
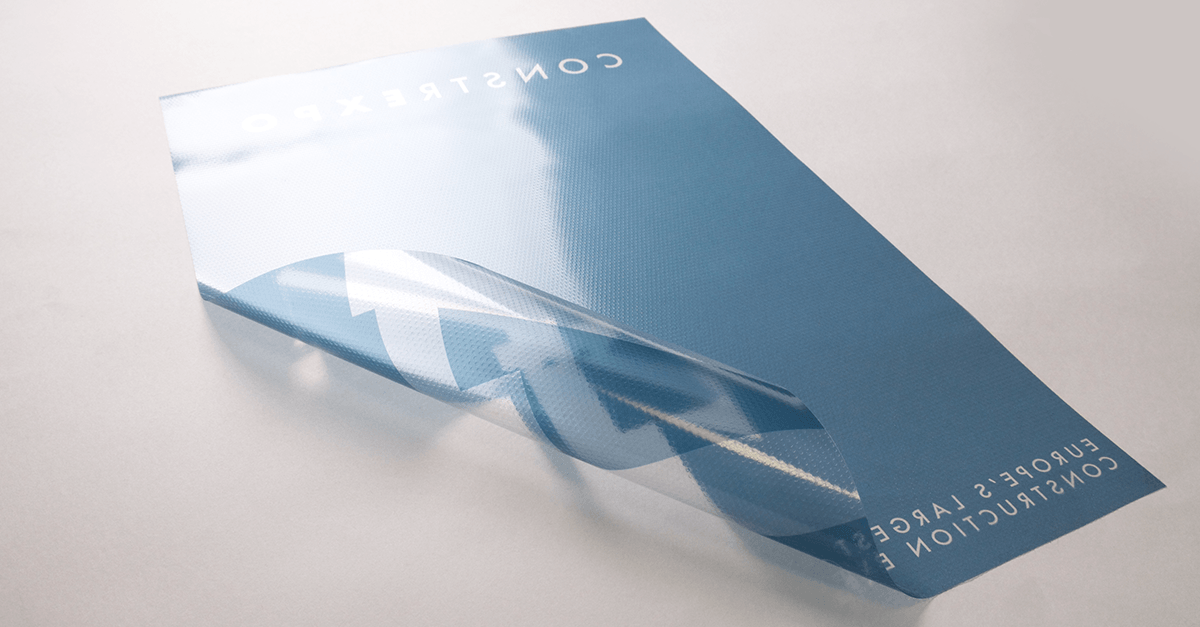
If you’re dressing a retail space, you can decorate all kinds of surfaces with Self-Adhesive Vinyl. From bright promotional splashes across your walls to cheeky sales messages across on countertops and windows, Self-Adhesive Vinyl is the perfect way to make any ad stand out. Our clear Vinyl stock even has a reverse print option, so you can dress your window and have your message read the right way whichever side you look at it from.
Our Self-Adhesive Vinyl is also weather-resistant and can withstand everyday conditions outside for up to 3 months. So don’t worry about spreading your brand’s message to the outside world too!
Vinyl for exhibitions
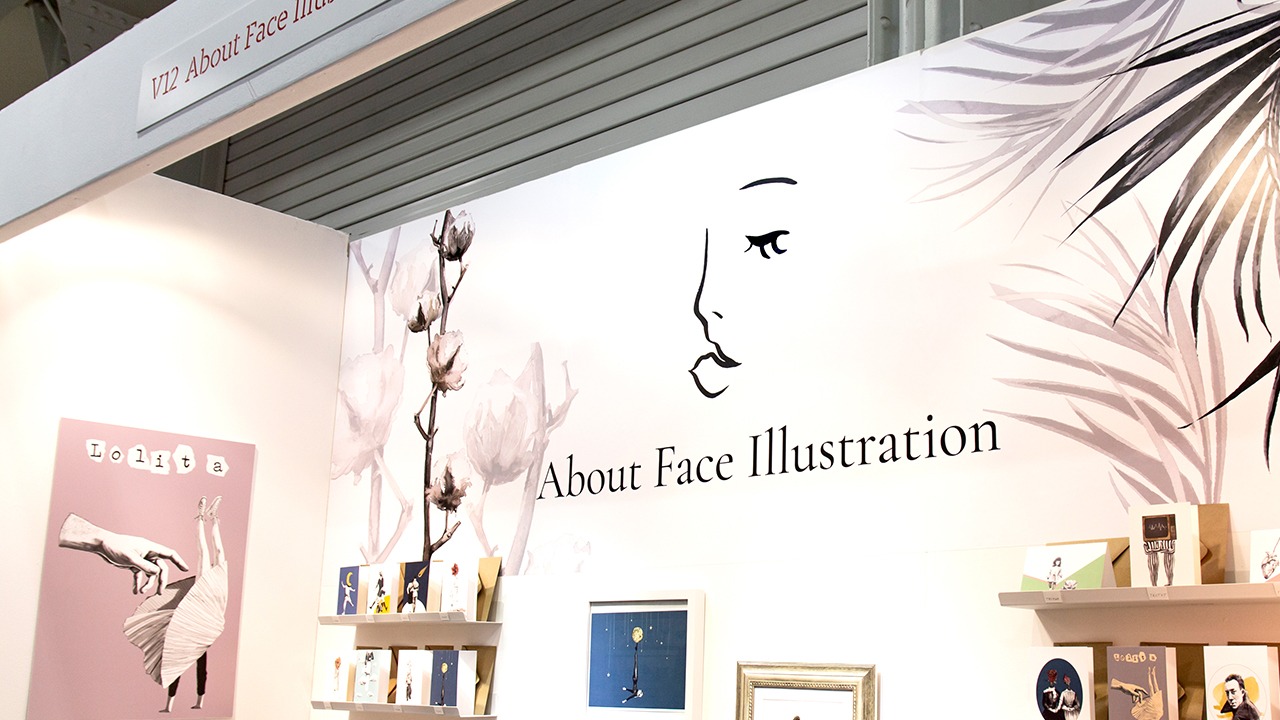
Business and promotional events are in full swing, so why not use Vinyl to shake up your exhibition stand?
The key for any exhibition is to be as eye-catching as possible and it’s easy to refresh a blank wall with the repositionable matt vinyl. You could even move your graphic around to keep your stand a constant surprise.
Removable Vinyl options also mean you’re free to decorate any way you like, without worrying about leaving lasting damage when you pack up to leave.
Vinyl for Health & Safety
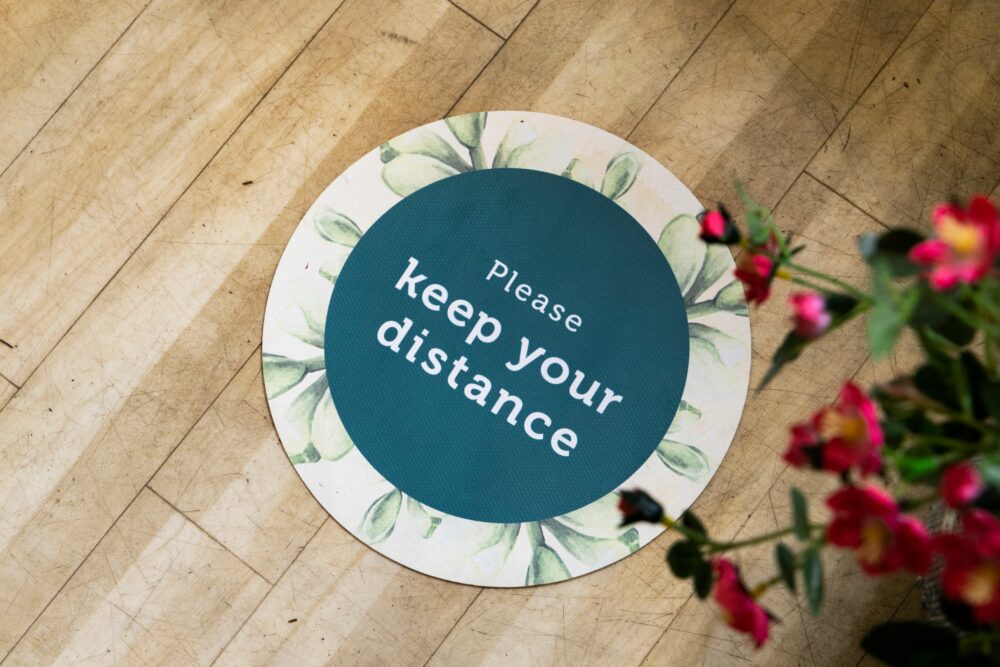
Whether for the office, library or shop front, don’t underestimate the power of Self-Adhesive Vinyl for Health and Safety.
Vinyl is an incredibly versatile tool and can be used to showcase all sorts of messages and keep your space safe. If you need to keep a clear one-way system or mark out two-metre spaces for queues, Vinyl Floor Stickers are ideal.
Now you know where to use it, let’s move onto how.
How do I apply Self-Adhesive Vinyl?
1. Prime your tools
There’s the old saying; “Failure to prepare is preparing to fail”. So if you fancy yourself as a soon-to-be adept applier, you might want to gather some useful tools before you begin:
- Damp cloth or methylated spirits for cleaning surfaces
- Spray bottle with a mixture of water and a very small amount of washing up liquid
- Rubber squeegee or something similar for smooth application
- Craft knife or scalpel if you need to take up the corners for re-application
2. No scrubs
Vinyl has real staying power when stuck to a smooth, clean and dust-free surface. Wipe down the surface with a damp cloth, or in the case of glass use methylated spirits.
3. Get stuck in
For sizes up to A3/A2 it’s usually easy enough to apply with one person. With anything larger, we’d recommend a bit of teamwork.
And now, to begin!
- Peel a small section of the paper and fold it back on itself. Emphasis on the ‘small’ here guys – if you peel off the back completely, you will almost end up sticking the vinyl to itself or even your hands.
- Next, line up and apply the area with the exposed adhesive to the surface and rub down gently with a squeegee. Slow and steady application is key because if you rub down too fast you will almost certainly get bubbles or creases as a result, some of which may be tough to work out afterwards.
- Now pull away the backing paper from behind in a downwards motion while rubbing down the vinyl as you go. Doing this with your hand will almost certainly result in bubbles, so squeegee away. By applying the vinyl gently at first, it means that if you do get bubbles, you should be able to pull away the vinyl where necessary and re-apply without damaging it. Remember, the vinyl will stretch if you pull it too firmly.
- For larger or more awkward sizes, spraying the surface lightly with water and a teeny amount of washing up liquid really helps as it will stop the vinyl from adhering too strongly at first. This means you can make adjustments and reposition later.
- Once you’re happy, use the squeegee to rub the vinyl and expel any water away from inbetween the vinyl and the surface.
It’s worth noting that our clear vinyl has a special patterned adhesive and is also easy to remove so you shouldn’t need any water to apply.
Ready to give Self-Adhesive Vinyl a go? Check out all our permanent, semi-permanent and removable stocks right here!
About the author
When she’s not perusing the factory or planning our next product launch, you’ll find Emma doing some form of exercise. Whether it’s her favourite gym class or a walk around Northumberland with friends, she loves keeping fit!